


For future logins, click the ![]() button on the Maia website at www.mymaia.ai. This will open the login screen, where you can enter your credentials to access the service.
button on the Maia website at www.mymaia.ai. This will open the login screen, where you can enter your credentials to access the service.
If you forget your password, you can reset it by clicking the “Forgot your Password?” button on the login screen.
1) Go to www.mymaia.ai
2) Navigate to the “Plans and Prices” page
3) Choose between the Free plan and the Elite plan
4) Fill in the registration form with the required information
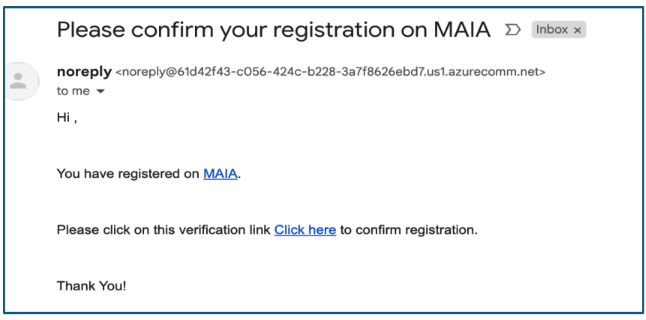
5) Confirm your email address
6) Complete the payment
7) Click the ![]() button
button
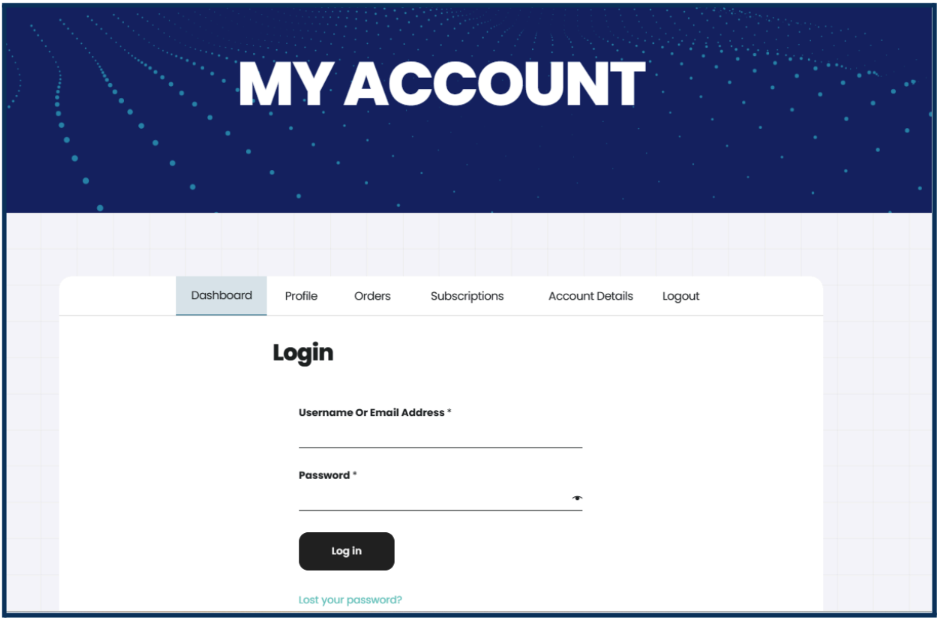
8) Enter your credentials
9) Click the “Log in” button
1) Go to www.mymaia.ai
2) Click ![]() button
button
3) Enter your credentials
4) Click the “Log in” button


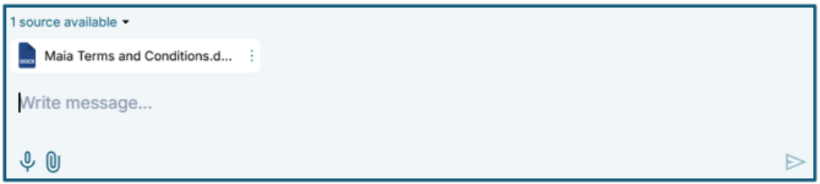
Please note that the microphone symbol![]() enables you to chat with Maia using your voice through Speech-to-Text technology.
enables you to chat with Maia using your voice through Speech-to-Text technology.
Next to the microphone symbol, you will see the attachment icon![]()
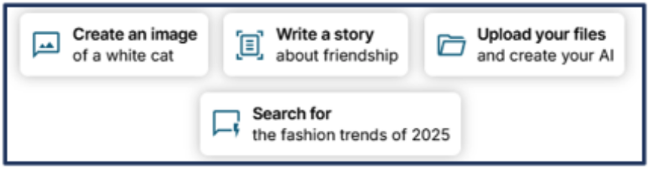
Just below the search box, there are four boxes that show what you can do with Maia:
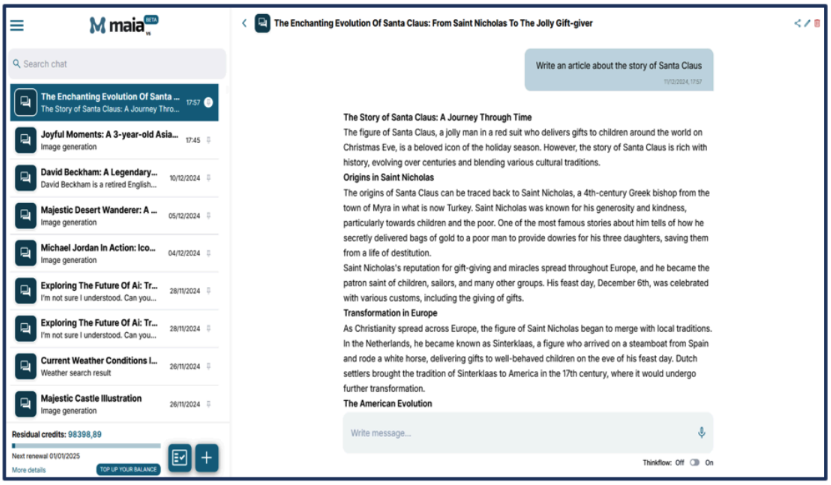
At the top of the right section, the 3 icons ![]() allow you to, respectively:
allow you to, respectively:
– ![]() share your conversion on social media
share your conversion on social media
– ![]() change the name of your conversation
change the name of your conversation
– ![]() delete your conversation
delete your conversation
On the left side of the screen, below the conversation history section, you will find
the Maia credits bar.
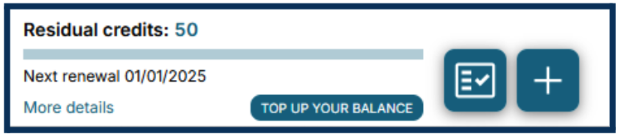
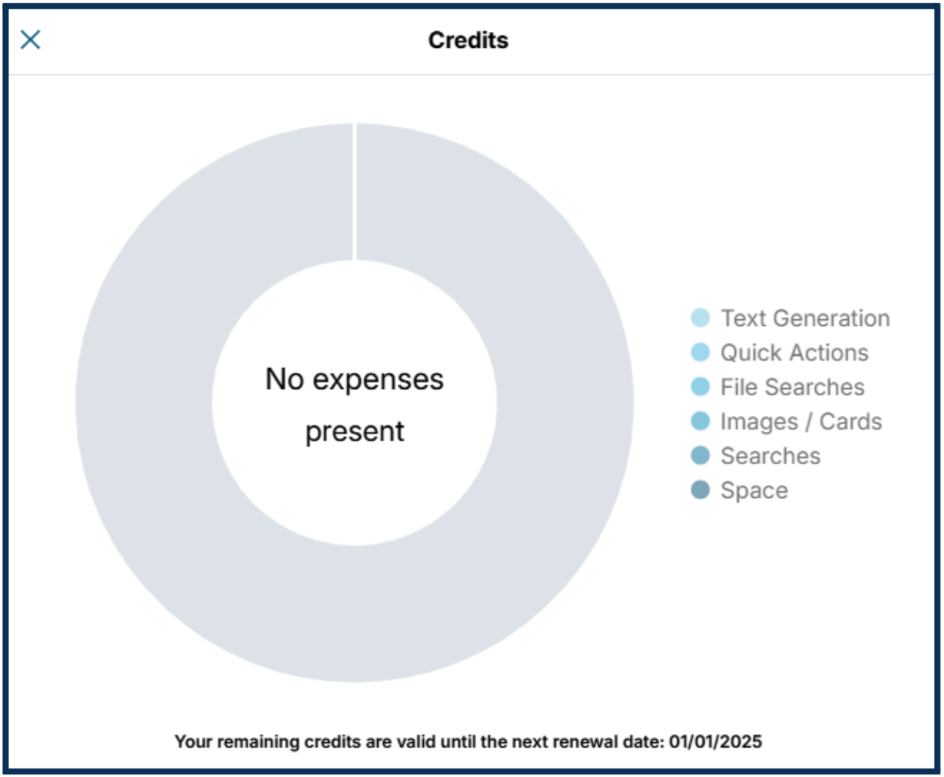
The credits update dynamically each time a task is completed, an answer is provided, or a search is performed. Next to the credit bar, you will find the icons![]() . Click on the first button to select the chats you want to remove from the conversation list and on the second button to start a new chat.
. Click on the first button to select the chats you want to remove from the conversation list and on the second button to start a new chat.
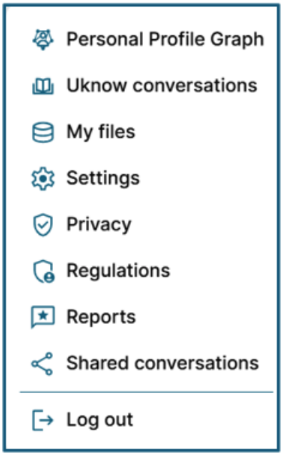
In the top left corner, you will find the dropdown menu icon![]() with the following items:
with the following items:

On the right side of your Personal Profile Graph, you will find a button that says “Add information to John” ![]() . Once you click it, a dropdown menu will appear, showing the remaining details you can add to further enrich the central NODE, “John”. Some of your data, like your first name, last name, date of birth, and gender, are already part of your graph as they were automatically added during registration. In this specific case, the information which has been left out is “Address” and “Residence.”
. Once you click it, a dropdown menu will appear, showing the remaining details you can add to further enrich the central NODE, “John”. Some of your data, like your first name, last name, date of birth, and gender, are already part of your graph as they were automatically added during registration. In this specific case, the information which has been left out is “Address” and “Residence.”
Note: Don’t forget to click “Save the change”  after completing all fields in a NODE.

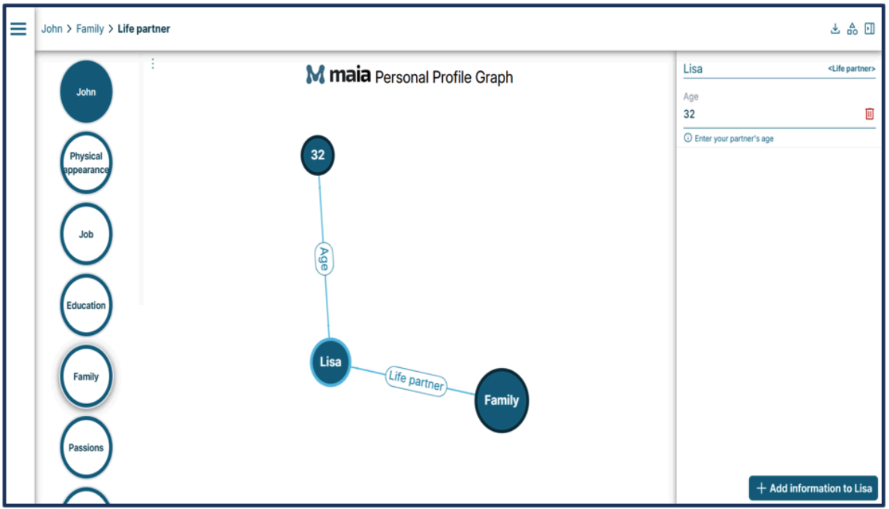
After entering your life partner’s name (e.g., Lisa) into your PPG and saving the change, as we have seen before, a new NODE called “Lisa” will be automatically created. To add further information to this NODE, select it and click the “Add information to Lisa” button ![]() found on the right. Once you click the button you will see a dropdown menu with a list of further information, such as age, gender, interests and type of relationship.
found on the right. Once you click the button you will see a dropdown menu with a list of further information, such as age, gender, interests and type of relationship.
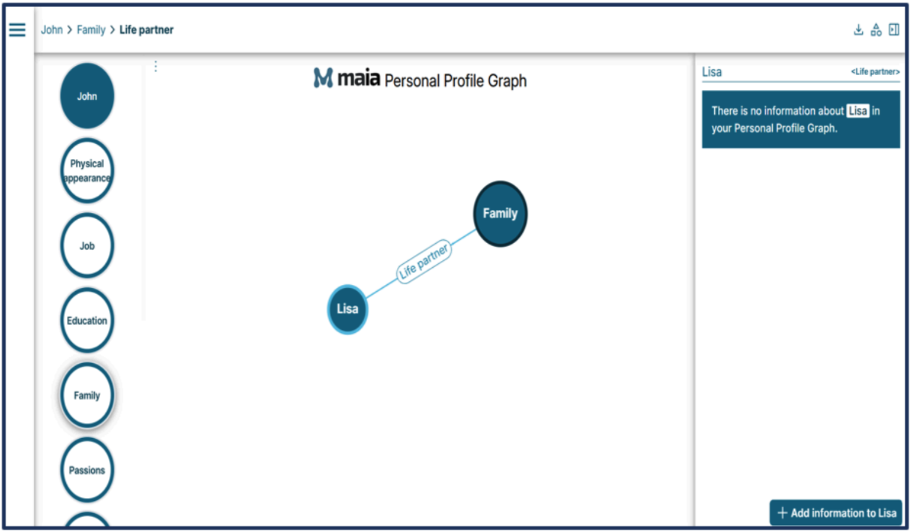
For example, if you enter your life partner’s age and click “Save the change” ![]() , your Personal Profile Graph will update and create an “Age” connection that links “Lisa” to the new NODE that features the age number.
, your Personal Profile Graph will update and create an “Age” connection that links “Lisa” to the new NODE that features the age number.
1) Click the menu and select the Personal Profile Graph item
2) Hover the mouse over the NODE you want to enrich, for example, “Lisa”
3) Click “Add information”
4) Select an item from the dropdown menu
5) Complete the field with your information
6) Press “Enter”
7) Click “Save the change”
Note: You can delete the information you entered anytime by simply clicking on the trash symbol![]() found next to each data.
found next to each data.
To re-enter information about your family members, you just need to click the “Family” NODE again.
If you don’t want certain NODES – for categories like physical appearance, education, job, family, passions, lifestyle, or finance – to be shown in your PPG, you can turn them off. Simply click the ![]() icon in the top right, select the NODES you want to disable and click “Save”
icon in the top right, select the NODES you want to disable and click “Save” ![]() . By doing so, the NODES you selected will no longer appear in your Personal Profile Graph.
. By doing so, the NODES you selected will no longer appear in your Personal Profile Graph.
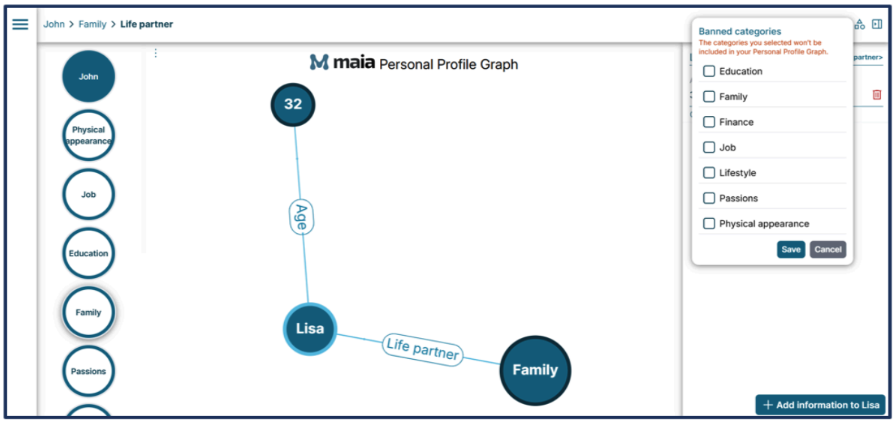
1) Click the ![]() icon in the top right corner
icon in the top right corner
2) Choose the NODES you don’t want to be displayed on your graph
3) Click “Save”
You have two ways to access your dedicated storage space.
1st way to upload files to your storage space
The first and quickest way is to go to the menu ![]() in the top left corner and select “My files”.
in the top left corner and select “My files”.
The next screen will show a list of saved documents on the right, with two folders on the left labelled “My Files” and “Content from Email” that help keep your files organized.
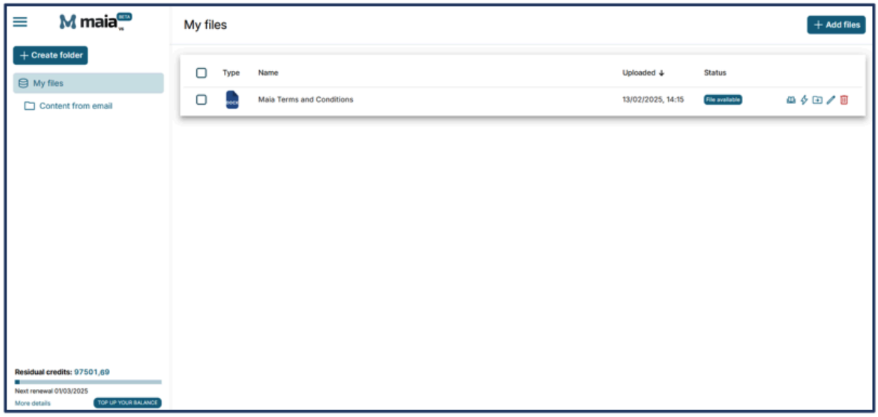
From there, you can upload your files by clicking the “Add to folder” button![]() and choose whether you want to add a file or a URL.
and choose whether you want to add a file or a URL.


– The first icon ![]() allows you to attach the file to a conversation.
allows you to attach the file to a conversation.
– The second icon ![]() enables quick actions, such as viewing the document, summarizing it, or translating it.
enables quick actions, such as viewing the document, summarizing it, or translating it.
– The third icon ![]() allows you to move the file into a new folder.
allows you to move the file into a new folder.
– The fourth icon ![]() lets you edit the attached document.
lets you edit the attached document.
– The last icon ![]() allows you to delete the uploaded file.
allows you to delete the uploaded file.
2nd way to upload files to your storage space
Another way to upload a file is by clicking the attachment icon![]() in the search box.
in the search box.

1) Click the menu in the top left![]()
2) Click “Add File”
3) Select the file you want to upload from your device
4) Wait for the file to be fully uploaded
1) Click the “Attach File” icon![]()
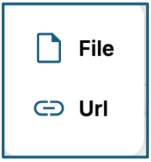
2) Click the “File” button
3) Select the file you want to upload from your device
4) Wait for the file to be fully uploaded
1) Click the “Attach File” icon![]()
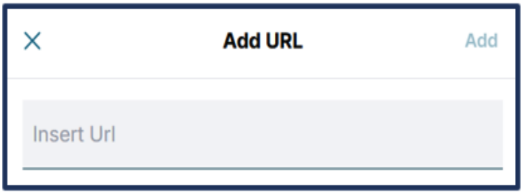
2) Click “Add URL”
3) Paste the link in the URL box
4) Click “Add”
You can easily send email content or any attachments you have received via email. Forward the email to [email protected] to add the email content and/or any attachments to the “Content from Email” folder  under the “My Files” section.
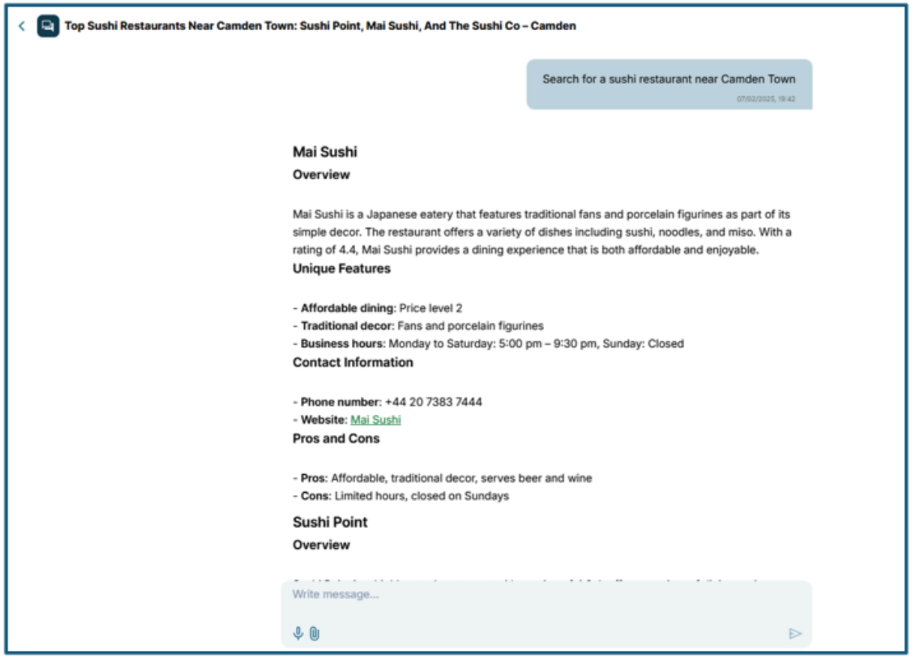
If you want to perform a web search and ask for information or advice, simply type your request into the search box. Alternatively, you can use your voice to interact with Maia by clicking the microphone icon ![]() .
.
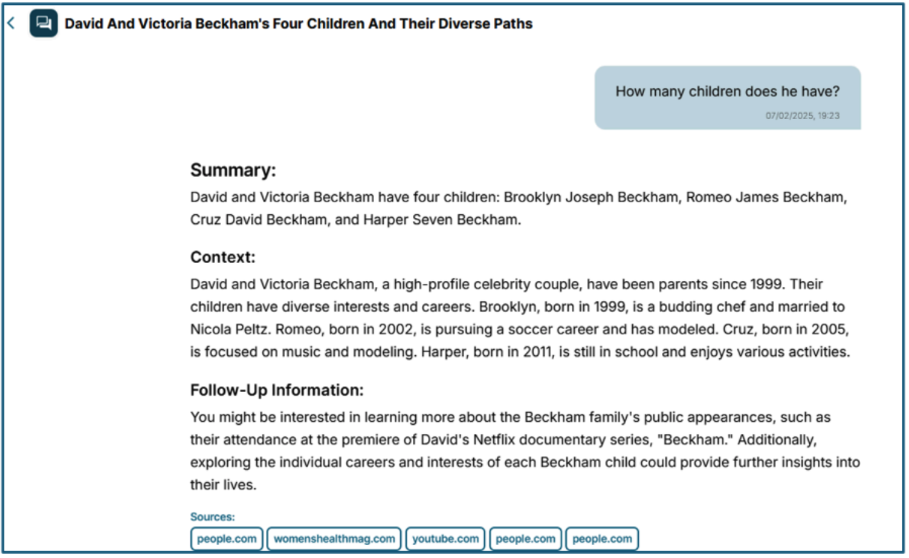
In this section, you can ask Maia questions and receive answers based on information found on the web. Please remember that, if you activate geolocation and complete your Personal Profile Graph, Maia will be able to provide highly customized answers. Besides web searches, here you can do local searches and ask personal questions and interesting facts about Maia. Finally, you can also ask about your information to see how much Maia has learnt about you.

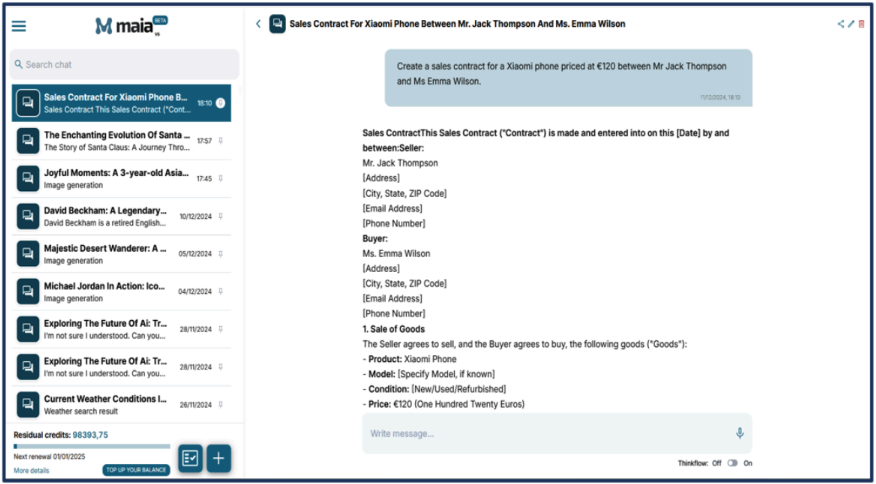
In the top right corner, you will find icons that allow you to share the conversation, edit the title, clear the chat, and delete the conversation 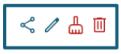 .
.
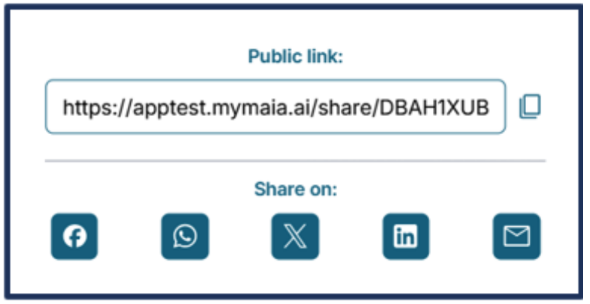
As mentioned before, the ![]() button enables you to share the conversation by generating a public link. Clicking it opens a pop-up window that lets you share the conversation via Facebook, WhatsApp, X, LinkedIn, or email.
button enables you to share the conversation by generating a public link. Clicking it opens a pop-up window that lets you share the conversation via Facebook, WhatsApp, X, LinkedIn, or email.
Finally, the ![]() buttons allow you to send feedback on an answer – with a thumb up standing for positive feedback and a thumb down standing for negative feedback, as well as listen to your answer. This last feature uses Text-to-Speech technology, which is especially handy if you can’t read and prefer to listen.
buttons allow you to send feedback on an answer – with a thumb up standing for positive feedback and a thumb down standing for negative feedback, as well as listen to your answer. This last feature uses Text-to-Speech technology, which is especially handy if you can’t read and prefer to listen.
To talk about this feature and understand how to use it, we need to go back to the section dedicated to “My Files” and file uploads (Chapter 3.1 of this manual).
To start using the feature, you will need to attach one or more files to a chat.
First, start a new chat by clicking on the ![]() icon and open a new conversation. Then, you can proceed by attaching the file.
icon and open a new conversation. Then, you can proceed by attaching the file.
To attach a file to a conversation, click the “Attach” icon ![]() below the search bar and access the “My Files” section.
below the search bar and access the “My Files” section.
You will then see the following screen:
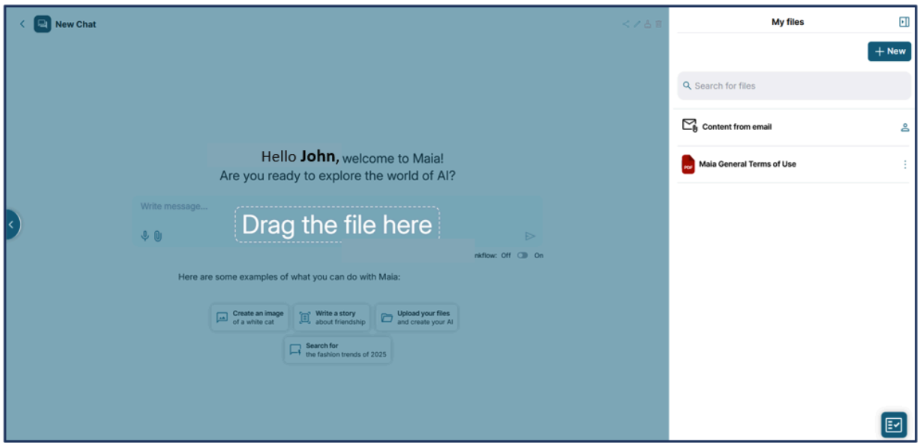
1) Click on the attach icon![]()
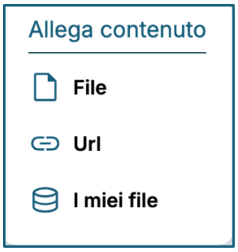
2) Select “My Files” from the dropdown menu
3) Choose the file you want and drag it into the section on the left
4) Wait for the file to be fully uploaded
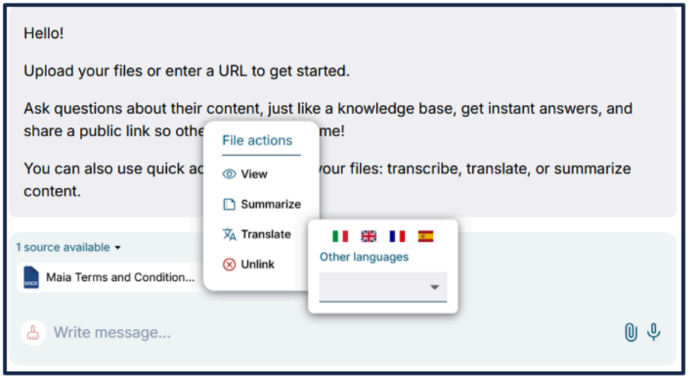
On the right side of the document title, you will see three vertical dots ![]()

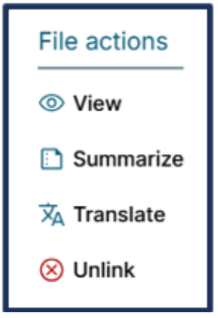
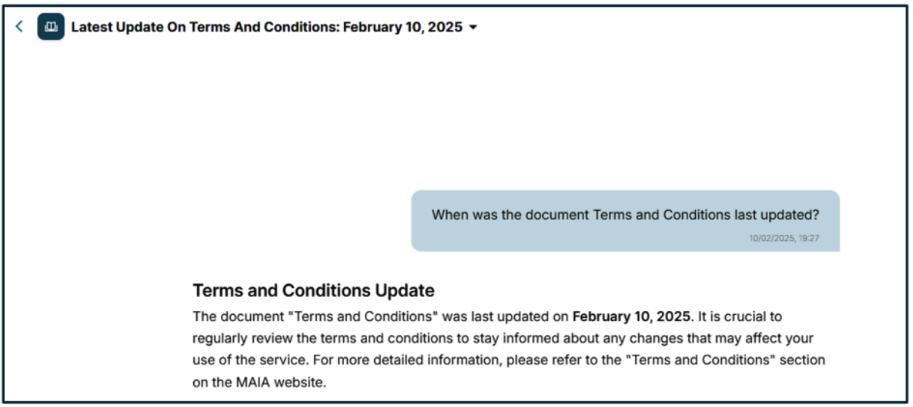
View. By clicking here, you can view the attached document.
Summarize. By clicking here, you are asking Maia to summarize the attached document.
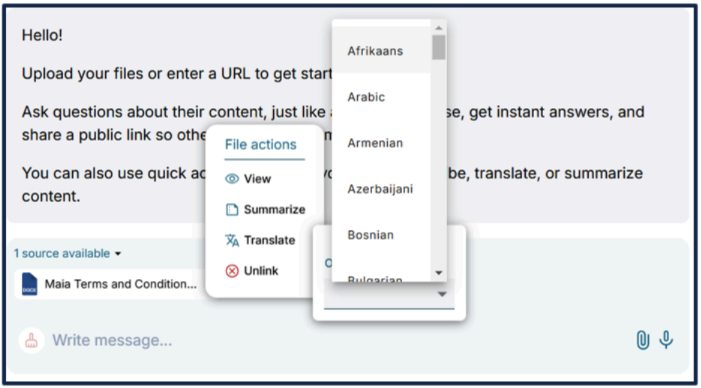
Translate. By clicking here, you are asking Maia to translate the attached document. Once you proceed, a pop-up will open where you can choose the language for your translation. For English, Spanish, French, and Italian, click the corresponding flags. If you choose a language which is not in the flag list, click the ![]() symbol to view the complete list of languages for which Maia can provide a translation.
symbol to view the complete list of languages for which Maia can provide a translation.